
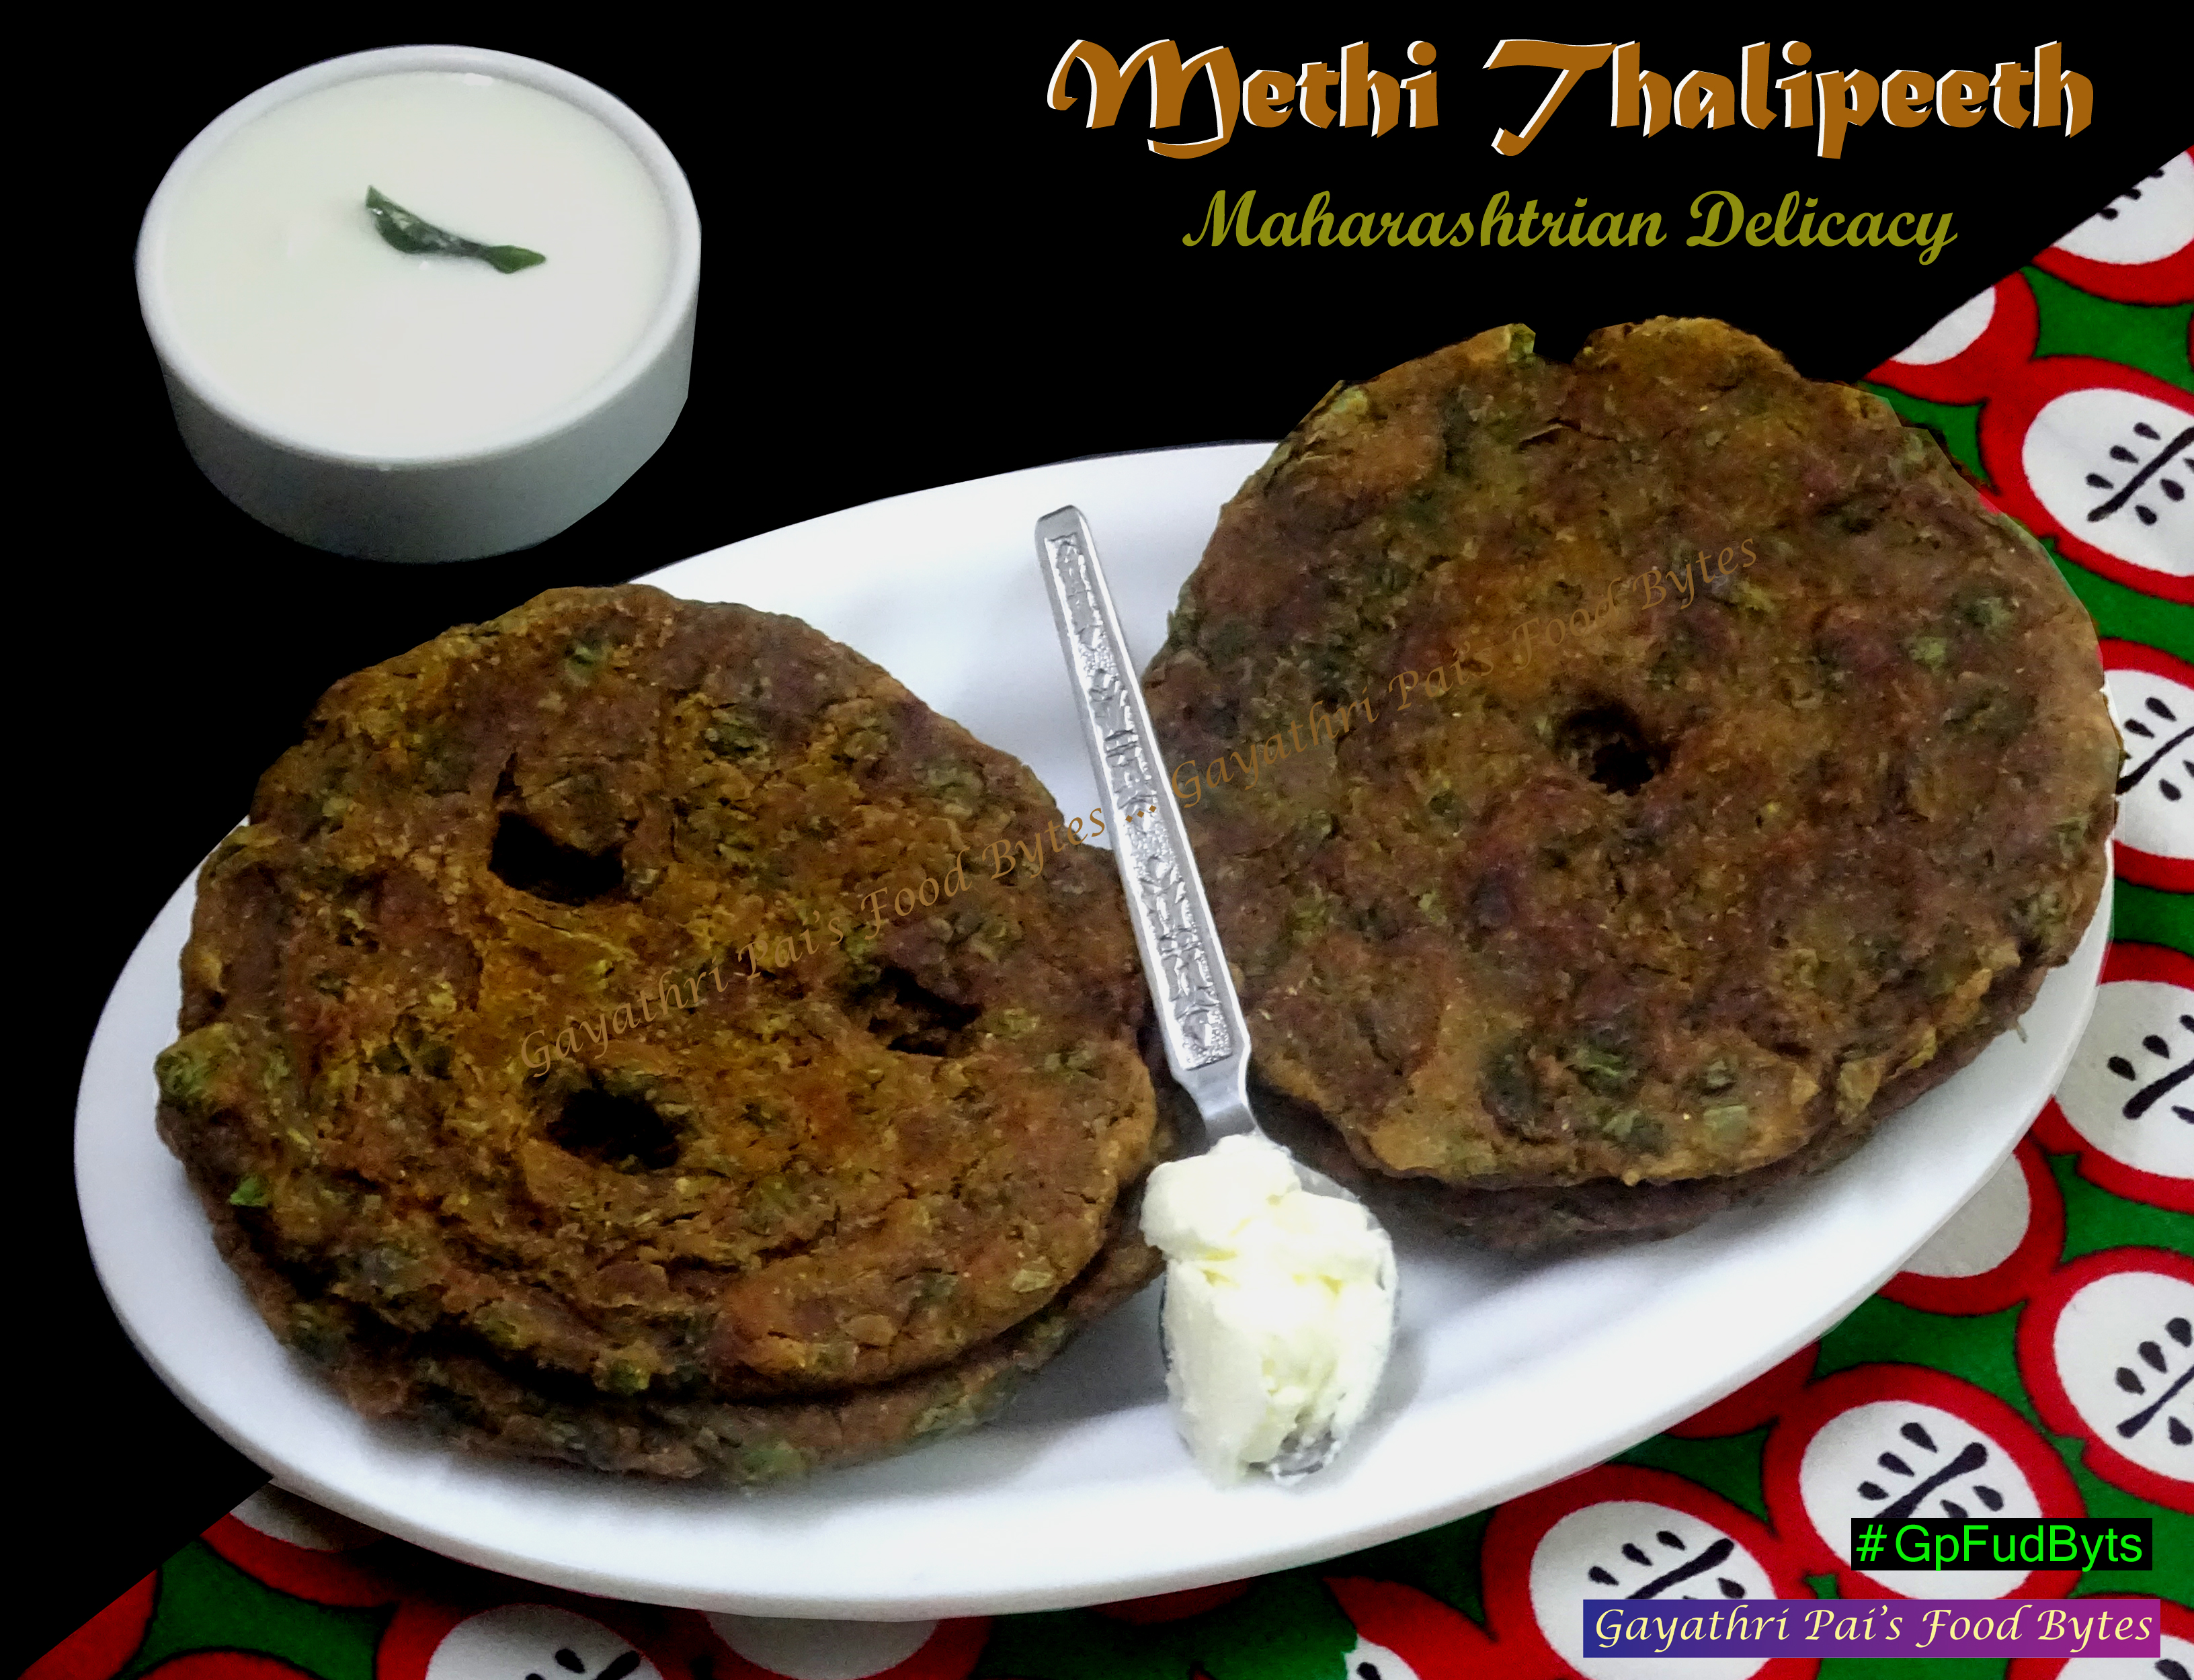
“Methi Thalipeeth” served with plain homemade curds/ dahi … here is a delicious, nutrious, wholesome, power packed breakfast dish from Maharashtrian Cuisine prepared with methi leaves that’s in season … Yummilicious …
** Thalipeeth is a mixture of flours with addition of spices prepared and kept in bulk in most of the Mahrashtrian or North Karnataka homes. Each home has their own mix and match of ingredients and they are all nutritious and healthy making it a perfect way to kick start the day. There are plenty of combinations to try out on, that you will be in loss for choice.
** Almost everybody who is a foodie knows about thalipeeth that’s similar to rulava (rava) bhakri from GSB Konkani Saraswat Cuisine, so I need not go to the trouble of spelling out more here. Though the flour is easily available in stores, I just randomly mix in flours that are at home and never bother to buy or prepare in bulk and store it, that way I avoid wastage too.
** For more on Thalipeeth and methi leaves information, you can always google search and you will find them in plenty. As it includes spices there is no need to serve it with chutney or curry and in my home we prefer to relish it with homemade loni/ butter or plain curds/ dahi, and its one of the simple, best and healthiest combo ever, try it, sure to agree.
** Here is my recipe for “Methi Thalipeeth” … my style …
** Ingredients :
Methi Leaves (Fenugreek Leaves/ Menthe Soppu) : 2 cups tightly packed
Green Chillies/ Tarni Mirsanga/ Hari Mirchi : 2-3 finely chopped
Coriander Leaves/ Kottambari Pallo/ Dhania : handful finely chopped (Optional)
Jowar Flour (Sorghum) : ½ cup
Bajra Flour (Pearl Millet) : ½ cup
Ragi Flour (Finger Millet/ Nachani/ Ragi Hittu) : ½ cup
Besan (Gram flour/ Chane peeta) : ¼ cup
Wheat Flour (Atta/ Gonva peeta) : ¼ cup
Tandla Pitti (Rice Flour/ Akki Hittu) : 2-3 tblsp
Mirsange Pitti (Red Chilli powder/ Laal Tikkat/ Mirchi powder) : 2 tsp
Haldi Pitti (Turmeric powder) : ¼ tsp
Coriander Powder (Dhania/ Kottambari pitti) : 2 tblsp
Cumin powder (Jeera) : 1 tsp
Black Pepper Powder (Miri Pitti/ Kali Miri powder) : ¼ tsp
Hing Powder (Asafoetida) : ¼ tsp
Badisep Powder (Fennel/ Saunf) : one pinch (Optional)
Ajwain (Vonvo/ Carrom seeds) : ¼ tsp crushed in hand
Tel/ Oil : 1 tblsp (I used coconut oil)
Namak/ Meeta/ Salt : to taste
Warm Water : as required for binding the dough

** Ghee/ Toop + Oil/ Tel/ Tela in 1:1 ratio as required for frying the thalipeeth, just mix required amount in a small bowl and keep it ready. This is my way of frying dosa, bhakri etc. which I learned from Amma, you may chose either or both.
** Clean, wash and finely chop the methi leaves and keep it aside ready. Also clean and chop coriander leaves and green chillies finely. If desired you can clean and chop a few fresh (karbevu/ kadipatta/ curry leaves) too.
** In a wide mixing bowl add in the jowar, bajra, ragi, besan and rice flour. Add in chilly, turmeric, coriander, cumin, black pepper, hing, haldi, badisep powders along with ajwain, oil and salt to taste. Mix all powder ingredients together roughly.
** Now add in chopped green chilles, coriander and methi leaves and mix all together to get evenly crumbled textured mixture. Now make a firm but soft dough adding lukewarm water slowly bit by bit, to make a tight thalipeeth dough.
** Make batter consistency thick, you should be able to make a loose ball out of it. Keep it aside covered for about 15-20 minutes, for ingredients to get well soaked in and settled. The batter thickens up, so add little water, mix well before removing making thalipeeth.
** Note : The batter should be thick consistency without water leaving on from sides to get perfect soft within and crisp outside thalipeeth. You can check out the consistency on the picture attached in collage above for reference.
** Note : You can increase or decrease the number of green chillies or chilly powder depending upon the required spice level as per individual taste. You can also add in finely chopped onions/ carrot/ cabbage etc. if desired too.
** The batter should be mixed well again so that the mixture is smooth and there are no lumps. The texture should be that of bhakri/ thick batter, a ball consistency. You should be able to take a lump of it on your hands and pat it on hot tawa into a nice round bhakri shape. You can check out through the common link at the bottom of recipe for more steps elsewhere.
** For Making of Thalipeeth : Heat a iron or non-stick tava to smoking point and then reduce the heat to minimum, apply a little bit of oi+ghee and rub with a tissue for getting even layer of greased tava. Take small amount of the mixed batter, roll into ball, place it on center or tava and pat it on a hot tava directly to form small round shape.
** Be careful while doing this to prevent your hand from getting hurt as the tava is hot. Keep dipping you hand in water before you pat the bhakri, this is necessary to avoid the bhakri paste from sticking your palms and also give it a nice round shape.
** Now with the edge of spoon handle make one, three or more holes on the patted thalipeeth as per the size of the same. Pour some oil+ ghee on all sides and into the prepared holes in the thalipeeth too and allow to cook on low to medium heat.
** Note : Thalipeeth can be patted on a plastic sheet/ banana leaf, butter paper or cloth too, if one is not confident of patting it directly on tava. Use a clean sheet to make it, rub is over with little bit of water and repeat method in the same way as you would have done it on tava, once you get nice small round shape gently/ slowly remove it seeing to it that the same does not crack up or break and put on a hot tava, follow any method suitable to you.
** When bottom side is cooked and the paste on upper portion does not stick to your hand gently loosen and flip over to cook on the other side too. Do not overcook as they should remain soft within and crispy out without getting burnt on any side.
** When cooked on both sides well, remove and keep it aside on a plate and apply a little bit of melted ghee all over the top surface if desired, this helps in keeping the thalipeeth moist and makes it that much more aromatic in taste.
** Repeat the process with remaining batter until consumed in the same procedure as above. In case you do not want to remove them all immediately then store the batter in fridge in a air container, remains good for 24 hours.
** Note : The size of Thalipeeth depends on individual liking or as is easy for one to prepare. You can make bigger or smaller ones using adequate batter. If making small sized ones you can put 5-6 on tava at a time. Again, the number of insertion of holes also depends upon the size, so make them accordingly. The best size to be served is of about 6 inches in diameter, but then children love smaller around 3 inches in dia, so try out accordingly.
** “Methi Thalipeeth” is done and ready to be served. Tastes best served with plain homemade curds/ dahi or some butter/ loni. As Thalipeeth consists of both veggies as well as spices there is really no need to serve with any chutney or curry as such, its sort of a fully packed nutritious meal that can be served for breakfast or carried in lunchbox.
** I often encourage no wastage of food, so if you have little bit of veggies like carrot, cabbage etc. leftover just use chopper if you have and chop them fine along with some onions and mix in spices and any available flours you have and you have your thalipeeth ready. It’s a great way to serve children veggies when hungry or on returning from school.
** There are plenty of similar to thalipeeth recipes which is called “Bhakri” in Konkani prepared with rava etc. shared in the blog, I am sharing a common link below, do browse through and try them out as and when possible, they are all healthy and tasty and yes easy to prepare too …..
No comments:
Post a Comment
Thanks.